My Tools
ADD NEW ENTRY |
To add a new entry, select "Add" from the toolbar menu. This function is also available via the "File" menu or in the list of entries via the context menu.
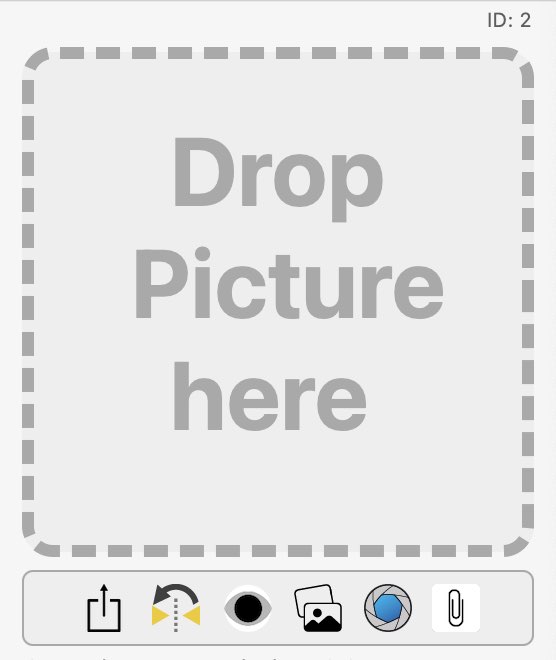
In the details you can enter the values, select the category and the manufacturer. If a new category or a new manufacturer is needed, you can do this via the administration of the categories or manufacturers. All changes are automatically saved when you exit the respective field or popup menu. You can use "Drag and Drop" to drag a product photo into the displayed "Drop image here" frame. Once an image is inserted, it is automatically saved to the selected tool.
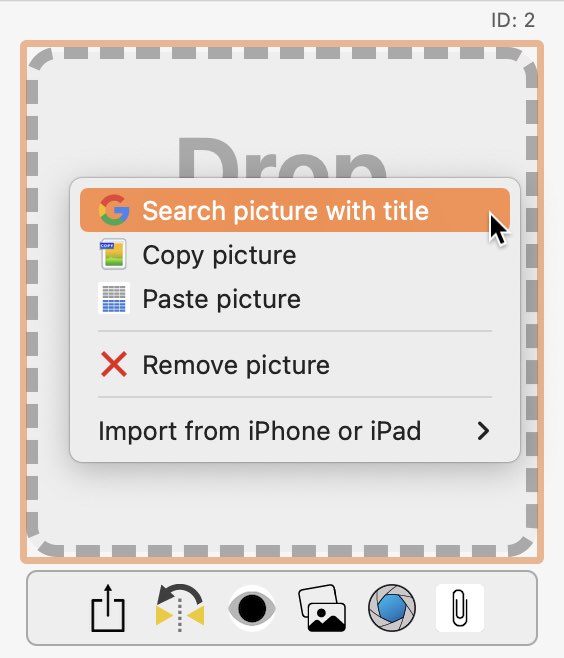
If you do not have an image for your tool at hand, you can search for it with a mouse click. To do this, select "Search image by name" from the context menu in the "Drop image here" area.
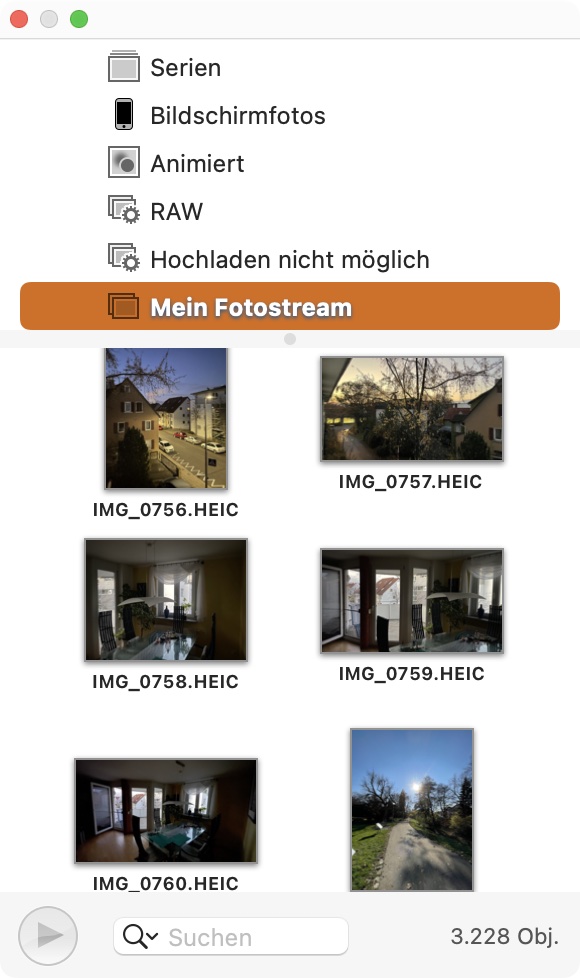
Select an image from the search results and drag it directly from Safari to the Drop Image Here section. You can also use the macOS media browser to specify an image for the selected tool. Click on the media bowser icon and select an appropriate image.
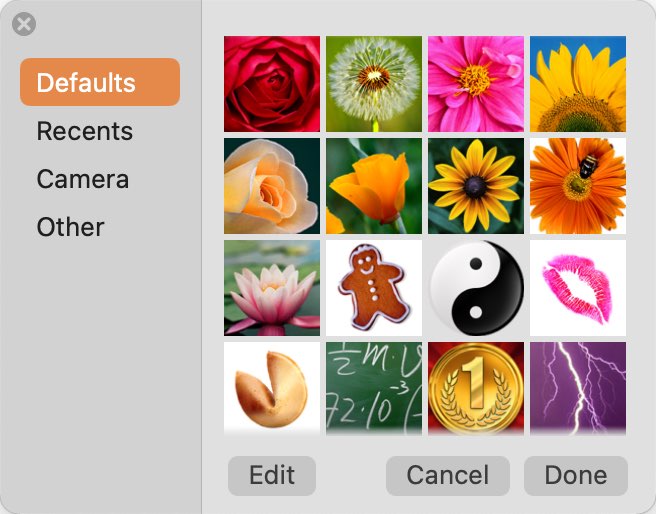
You can also use the macOS image selector to specify an image for the selected tool. Click on the image selector icon and choose an appropriate image. Use "Camera" to apply a photo via the camera. Create a photo, adjust the size and position and click "Done".
Photos that are created via this macOS function are always mirrored. This can be corrected by clicking on the "Flip image" icon.
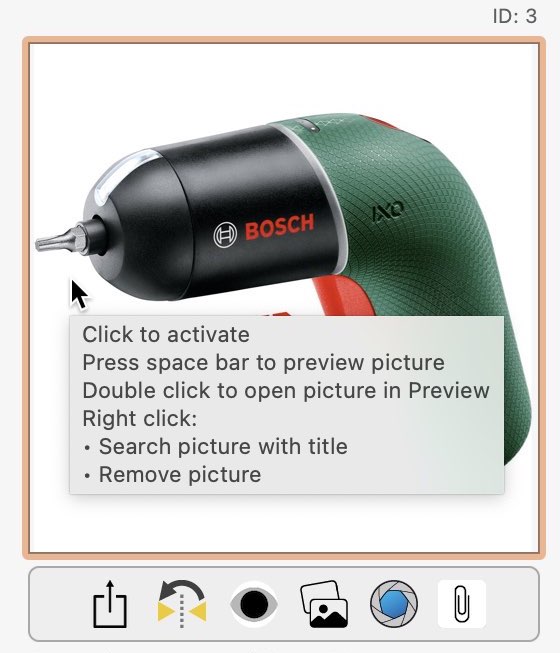
After you have inserted an image, you can view it in its original size using the "Preview" function. To do this, click once on the existing photo for the selected tool. Now you can view the preview of this image by pressing the space bar. However, it is faster to use the "Preview" icon, because you do not have to select the image beforehand.
|