Warranty Manager Help
ADD OR FIND A PRODUCT PICTURE |
|||||||||
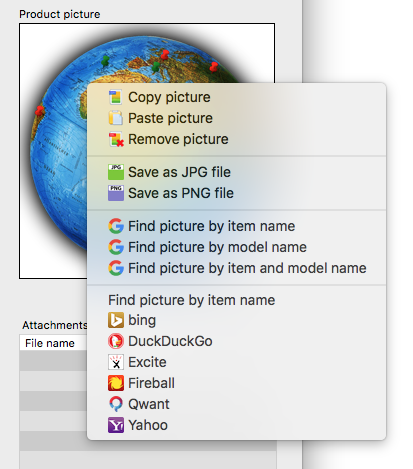
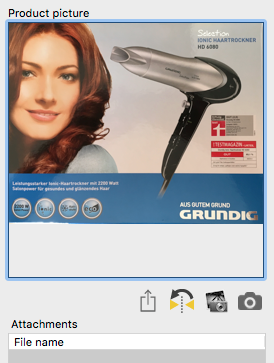
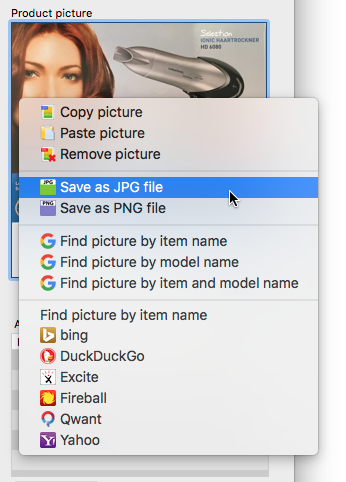
You can add a product picture by a simple drag and drop from the finder or from the attachment list to the product picture frame. If you don't have a product picture, you can find one with the context menu (right mouse click).
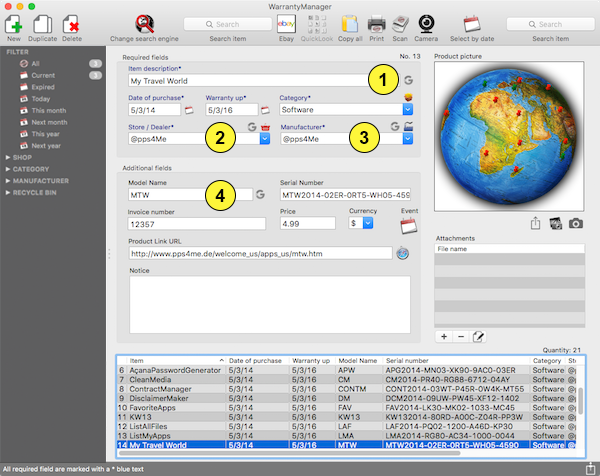
Some field has a Google icon. With a click on this icons, you can find a picture by the text in the corresponding field.
You can also add a product picture with the macOS "Picture Taker" and the FaceTime® camera. To do this, click on the camera icon.
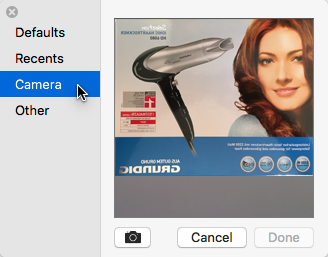
This will open the "Picture Taker". Keep an object in front of the camera and click the camera icon at the bottom. After the timer has expired the picture is created. Click on "Done". The new created picture will be used as the product picture now. Photos created with this function are always mirrored. This is the default in macOS and cannot be changed.
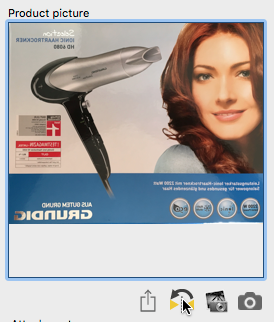
The correct the mirrored picture, click on the "Mirror" icon.
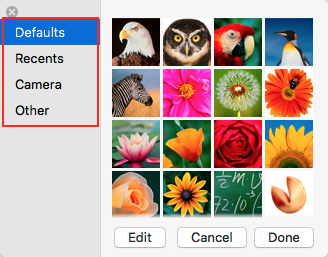
You can also use the other feature "Defaults, Recent, Other" from the "Picture Taker".
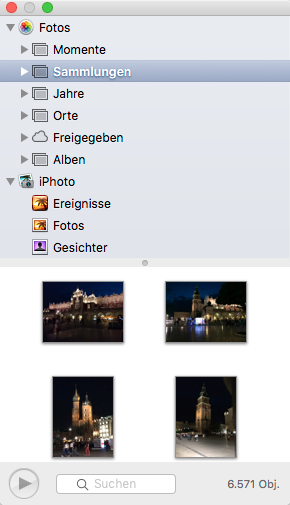
You can use also the macOS "Media Browser". To do this, click this icon.
This will start the macOS "Media Browser". Drag and picture form the "Media Browser" and drop it into the area of the product picture.
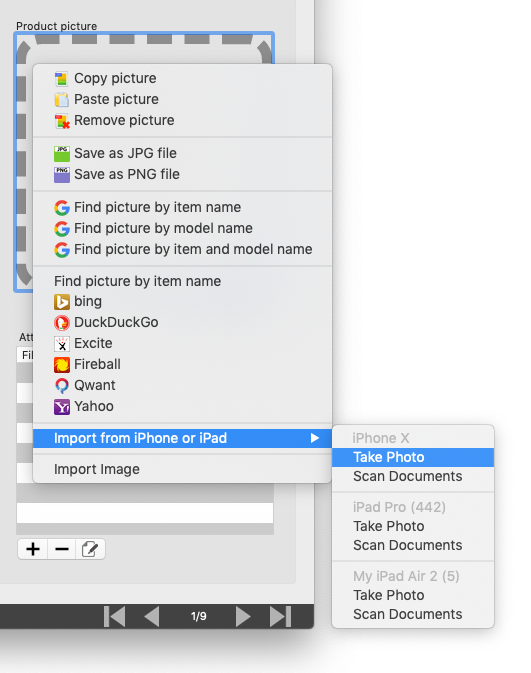
You can also import a picture from your iPhone or iPad. Select the entry from the context menu.
You can save a product photo as a JPG or PNG file. To do so click on the product photo with the right mouse button and choose the appropriate format.
|

